


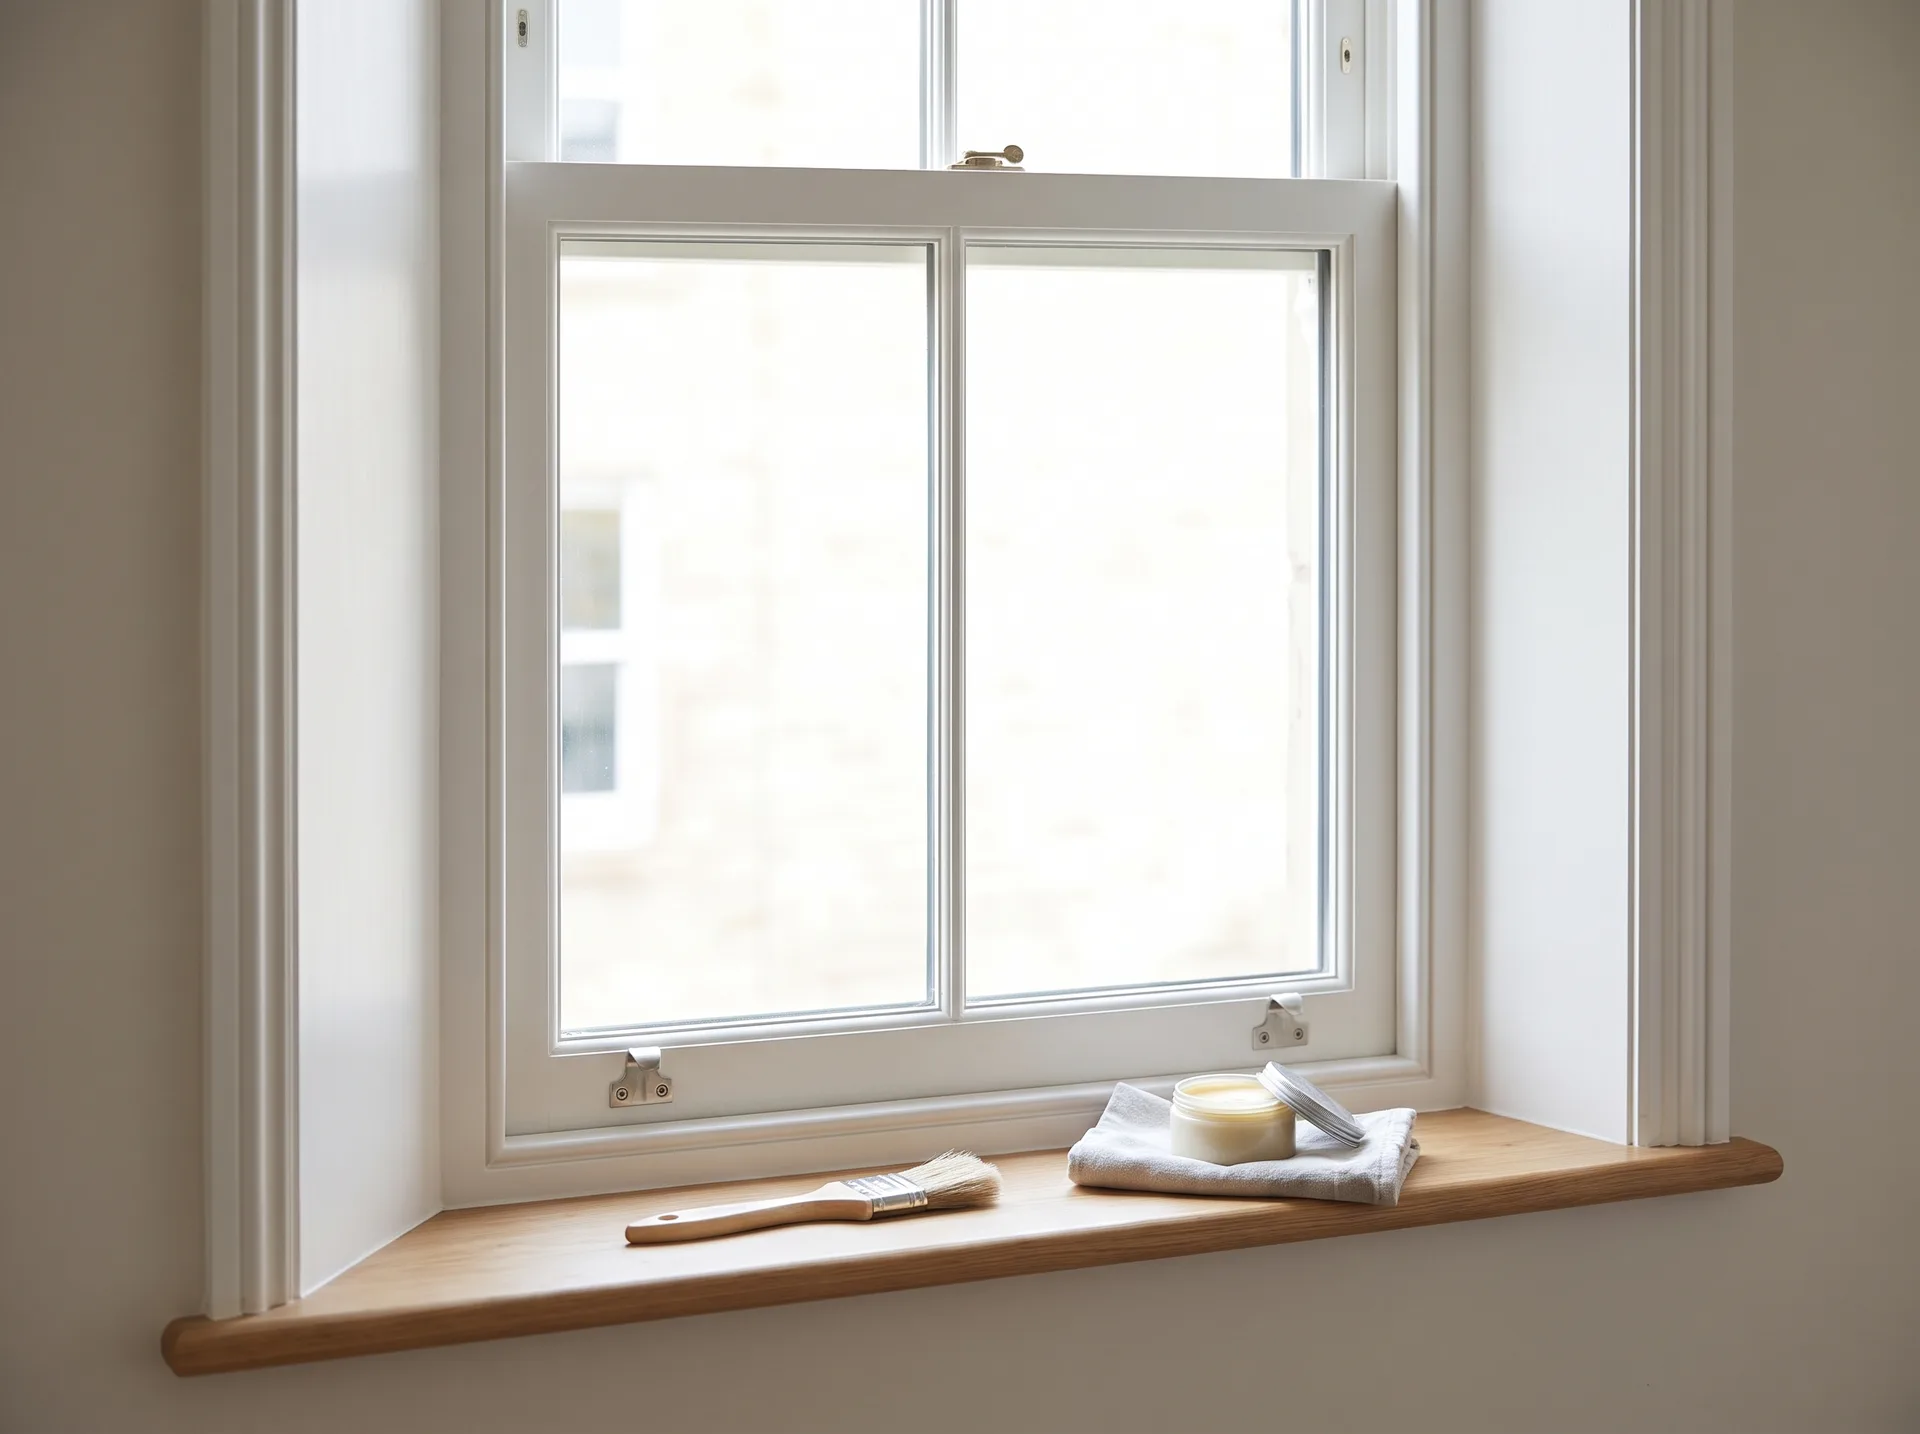
Well-maintained sash windows can last for generations. Knowing how to maintain sash windows comes down to keeping the timber painted, the cords sound and the beads correctly fitted, which prevents sticking, rattling and damp. The key is gentle, like-for-like care carried out at the right time of year, rather than drastic alterations.
Why Sash Windows Reward Careful Maintenance
Traditional box sash windows are, by design, fully repairable. Guidance from bodies such as Historic England and the Society for the Protection of Ancient Buildings (SPAB) favours ongoing maintenance and renovation over wholesale replacement. Each component-the sashes, beads, cords and weights-can be removed, repaired and refitted, which is why a window looked after properly can outlast many modern alternatives.
This repairability shapes how you should approach upkeep. Routine, like-for-like work-renewing cords, easing painted joints, re-bedding loose glass-generally does not need Listed Building Consent. However, anything that alters historic fabric, changes profiles or replaces whole sashes should be checked with your local Conservation Officer first, as the rules depend on your property and area.
Looking after period joinery also protects the look of your home. Georgian, Victorian and Edwardian windows each have their own glazing bar patterns and proportions, and clumsy repairs can erase that character. By keeping maintenance sympathetic and reversible, you retain both the performance and the appearance that make these windows worth saving.
Before starting any work, it helps to understand how your windows were built and which parts are original, so repairs respect the original design.
How Often Should Sash Windows Be Serviced?
Part of knowing how to maintain sash windows is getting the timing right. There is no single fixed interval, but a sensible rhythm keeps problems small: a light annual inspection, backed by a more thorough service every few years, suits most homes. The British climate-with damp winters and warmer, drier summers-means timber expands and contracts through the seasons, so timing matters as much as frequency.
A yearly check is best carried out in late spring or summer, when the timber is drier and more stable. Look for flaking paint, soft or discoloured wood, stiff movement, rattling, and gaps where draughts enter. The table below shows how to spread simple tasks across the year.
| Season | Focus | Typical tasks |
|---|---|---|
| Spring | Inspection | Check paintwork and putty, clean sills and drainage grooves |
| Summer | Repairs | Repaint and ease stiff sashes while the timber is dry |
| Autumn | Preparation | Test smooth operation, check draught seals before winter |
| Winter | Monitoring | Watch for condensation and damp, note any sticking to address later |
More involved servicing-overhauling cords, rebalancing weights or renewing beading-is needed less often, but should never be delayed once a cord frays or a sash drops. Catching these early prevents a window being painted shut or left unusable, which only makes later repairs harder and more disruptive.
How to Stop Sash Windows Sticking or Rattling
Two of the most common complaints pull in opposite directions: sashes that stick and refuse to move, and sashes that rattle in the wind. Both are usually straightforward to resolve without replacing anything.
Easing a sticking sash
Sticking most often comes from layers of old paint building up in the channels, or from timber swelling in damp conditions. SPAB recommends removing paint build-up with chemical paint strippers rather than planing the wood, and avoiding planing during spells of high humidity or in unheated rooms. Timber frequently regains free movement once it dries out, so patience in winter can save you cutting away wood you later wish you still had.
Curing a rattling sash
Rattling and uncontrolled draughts are typically caused by loose staff beads and parting beads, or by working gaps that have grown too wide. The discreet, lasting fix is brush pile weatherstripping-slim brush seals set into the beads and channels. These close the gaps while still allowing the sashes to slide freely.

If a sash has been painted shut, breaking the paint seal carefully along the joints before working the window is far safer than forcing it, which can split the timber or crack the glass.
Caring for Painted Timber Sash Windows
Paint is the first line of defence for timber sash windows, so the type you use matters as much as how often you apply it. In the damp British climate, breathable coatings are essential.
For external joinery, choose microporous paint or traditional linseed-oil-based coatings. These let the timber breathe and release moisture, instead of trapping water inside the profile-trapped moisture is one of the main causes of timber rot. A hard, impermeable film may look good briefly, but it tends to blister and peel, drawing damp into the wood behind it.
Good preparation is everything. Remove loose and flaking paint, allow damp timber to dry, fill minor defects, and build up thin coats rather than one heavy layer. Pay particular attention to the bottom rail, sill and the putty line, where water collects. Linseed oil putty should be kept sound and overpainted so it sheds water.
A word on old lead paint
Many Victorian and Edwardian homes still carry old lead-based paint beneath later coats. Disturbing it by sanding or burning releases harmful dust and fumes. This is not a routine DIY job-treat suspect paint with caution and have it assessed and dealt with by a suitably qualified specialist using safe methods.
How to Maintain the Cords and Weights
The quiet genius of a sash window is its counterbalance. Traditional mechanisms use sash cords-woven from waxed cotton, hemp or a synthetic core-connected to lead or cast iron sash weights hidden inside the box frame. When a cord snaps, the sash becomes heavy and unusable, so the cords are the part most likely to need renewal over time.
Proper maintenance means gaining access to the concealed weights. This involves removing the internal staff beads to take out the lower sash, then the parting beads, and opening the pocket covers in the frame to reach the weights. From there, perished cords can be replaced and the weights rebalanced so each sash holds its position at any height.

Balance is easy to overlook. If a sash has been fitted with thicker restoration glass, or a rail has been repaired with epoxy resin, its weight changes-and the counterweights may need adjusting to match. A sash that drifts up or slams down is usually a balance problem, not a fault with the cords alone.
Because this work involves dismantling and lifting heavy components, and the beads are easy to damage, it is often best entrusted to someone experienced with period joinery who can refit everything cleanly.
How to Prevent Draughts and Damp Around Sash Windows
Draughts and damp are closely linked, and tackling one without thinking about the other can cause problems. The goal is a comfortable, dry window that still allows the building to breathe.
For draughts through the sashes themselves, brush pile weatherstripping set into the beads is the sympathetic solution. Where the frame meets the surrounding masonry, external joints in traditional buildings should be sealed with flexible, breathable materials-haired lime mortar or burnt sand mastic-rather than hard cement or expanding polyurethane foam, which crack and trap moisture.
Crucially, draught-proofing older British homes must preserve adequate background ventilation. Sealing a room completely encourages the air to reach its dew point, leading to condensation and mould on cold walls and joinery. Deliberate trickle ventilation keeps moist air moving and protects the very timber you are trying to save.
Where you want to reduce heat loss and noise without altering historic windows-especially in a listed building-internal secondary glazing is the approach recommended by Historic England. It sits discreetly behind the original sashes, leaving them fully intact and reversible. If you are unsure how far to go, professional advice on balancing sealing with ventilation is well worth seeking.
Common Sash Window Maintenance Mistakes to Avoid
A few avoidable errors cause most of the long-term damage to period windows. The biggest is misjudging seasonal timber movement. Timber swells in the damp air of autumn and winter and shrinks in drier summer months. Homeowners who plane a tight sash in autumn often find they have created wide, draughty gaps by the following summer. Where possible, deal with stiffness by removing paint build-up and letting the timber dry, rather than cutting it.
- Painting windows shut, then forcing them open and splitting the joints.
- Using hard cement or foam around frames, which traps damp and causes rot.
- Sealing a room so tightly that condensation forms on the single glazing.
- Sanding old paint without checking for lead first.
- Ignoring a frayed cord until it snaps and the sash jams.
Getting the detail right protects both performance and character. If you would rather not learn how to maintain sash windows through trial and error, our team offering sash window repair and restoration can assess the condition of your joinery and carry out sympathetic, like-for-like work. Knowing when to call in help is often the difference between a quick fix and a major repair.
Keeping Your Sash Windows in Good Order
Caring for sash windows is mostly about consistency and timing: a yearly inspection, repainting with breathable coatings when the timber is dry, sound cords and balanced weights, and draught-proofing that still lets the building breathe. Work gently, keep repairs like-for-like, and respect the original design, and these windows can serve a period home for many years. When a job calls for dismantling, old lead paint or careful rebalancing, it is sensible to bring in experienced hands. If you would like your sash windows assessed or restored, we would be glad to discuss your property and arrange a free quote.
FAQ - Frequently asked questions
Can I replace a broken sash cord myself?
In principle it is a repairable job, but it means dismantling the beads and handling heavy concealed weights, which can be fiddly and easy to get wrong. If you are not confident, it is better to have it done by someone used to period joinery so the window is rebalanced correctly.
Will secondary glazing stop condensation on my sash windows?
Secondary glazing reduces heat loss and noise and can help with cold-surface condensation, but it is not a cure on its own. You still need adequate ventilation in the room, as trapped moist air is the underlying cause of condensation.
How can I clean sash windows without damaging the paintwork?
Use mild soapy water and a soft cloth, avoiding harsh abrasives or scrapers that can scratch glass and strip paint. Dry the timber and sills afterwards, and check the putty line while you clean so you catch small defects early.
Is it worth repairing old sash windows rather than replacing them?
Traditional sash windows are fully repairable, and bodies such as Historic England and SPAB favour maintenance over replacement. Sympathetic repair preserves the character of a period home and keeps original fabric in use, which is often the best long-term choice.